# How to Set up an Azure One Lake Database for Integrating with Daton

## Prerequisites

To integrate One Lake, you need a Microsoft Fabric and Daton account.

## Authentication Steps

### Task 1: Register an Application

1. Log in to the [Azure portal](https://portal.azure.com/).
2. In the search bar, look for **App registrations**

   <figure><img src="https://t3369097.p.clickup-attachments.com/t3369097/d888b2a1-e71b-433e-90af-0f284bcf880e/image.png" alt=""><figcaption></figcaption></figure>
3. Go to **App registrations** and click **New registration**.

   <figure><img src="https://t3369097.p.clickup-attachments.com/t3369097/48ee2715-7660-4d6e-a011-80b30cc6d3eb/image.png" alt=""><figcaption></figcaption></figure>
4. Enter the following specifications for your application in the **Register an application** section and click **Register**.

   1. Name
   2. Select **Accounts in this organizational directory only** under **Supported account types**

   <figure><img src="https://15515196-files.gitbook.io/~/files/v0/b/gitbook-x-prod.appspot.com/o/spaces%2F-LbJ1eMq5M51cIpU163R%2Fuploads%2F1JroNCqr9Z5R95V2BFOd%2Fimage.png?alt=media&#x26;token=216e1bc7-a38c-4ab6-b6f3-26386a5d99aa" alt=""><figcaption></figcaption></figure>
5. Make a note of the **Application (client) ID** and **Directory (tenant) ID** that will appear once your application is registered. You will need them to configure Azure One Lake on Daton.

   <figure><img src="https://t3369097.p.clickup-attachments.com/t3369097/f81ef610-4516-4f39-99b6-66e5d0891a24/Screenshot%202023-11-08%20at%205.40.15%E2%80%AFPM.png" alt=""><figcaption></figcaption></figure>

### Task 2: Create your Client Secret

1. Select the application you registered in the above Task.
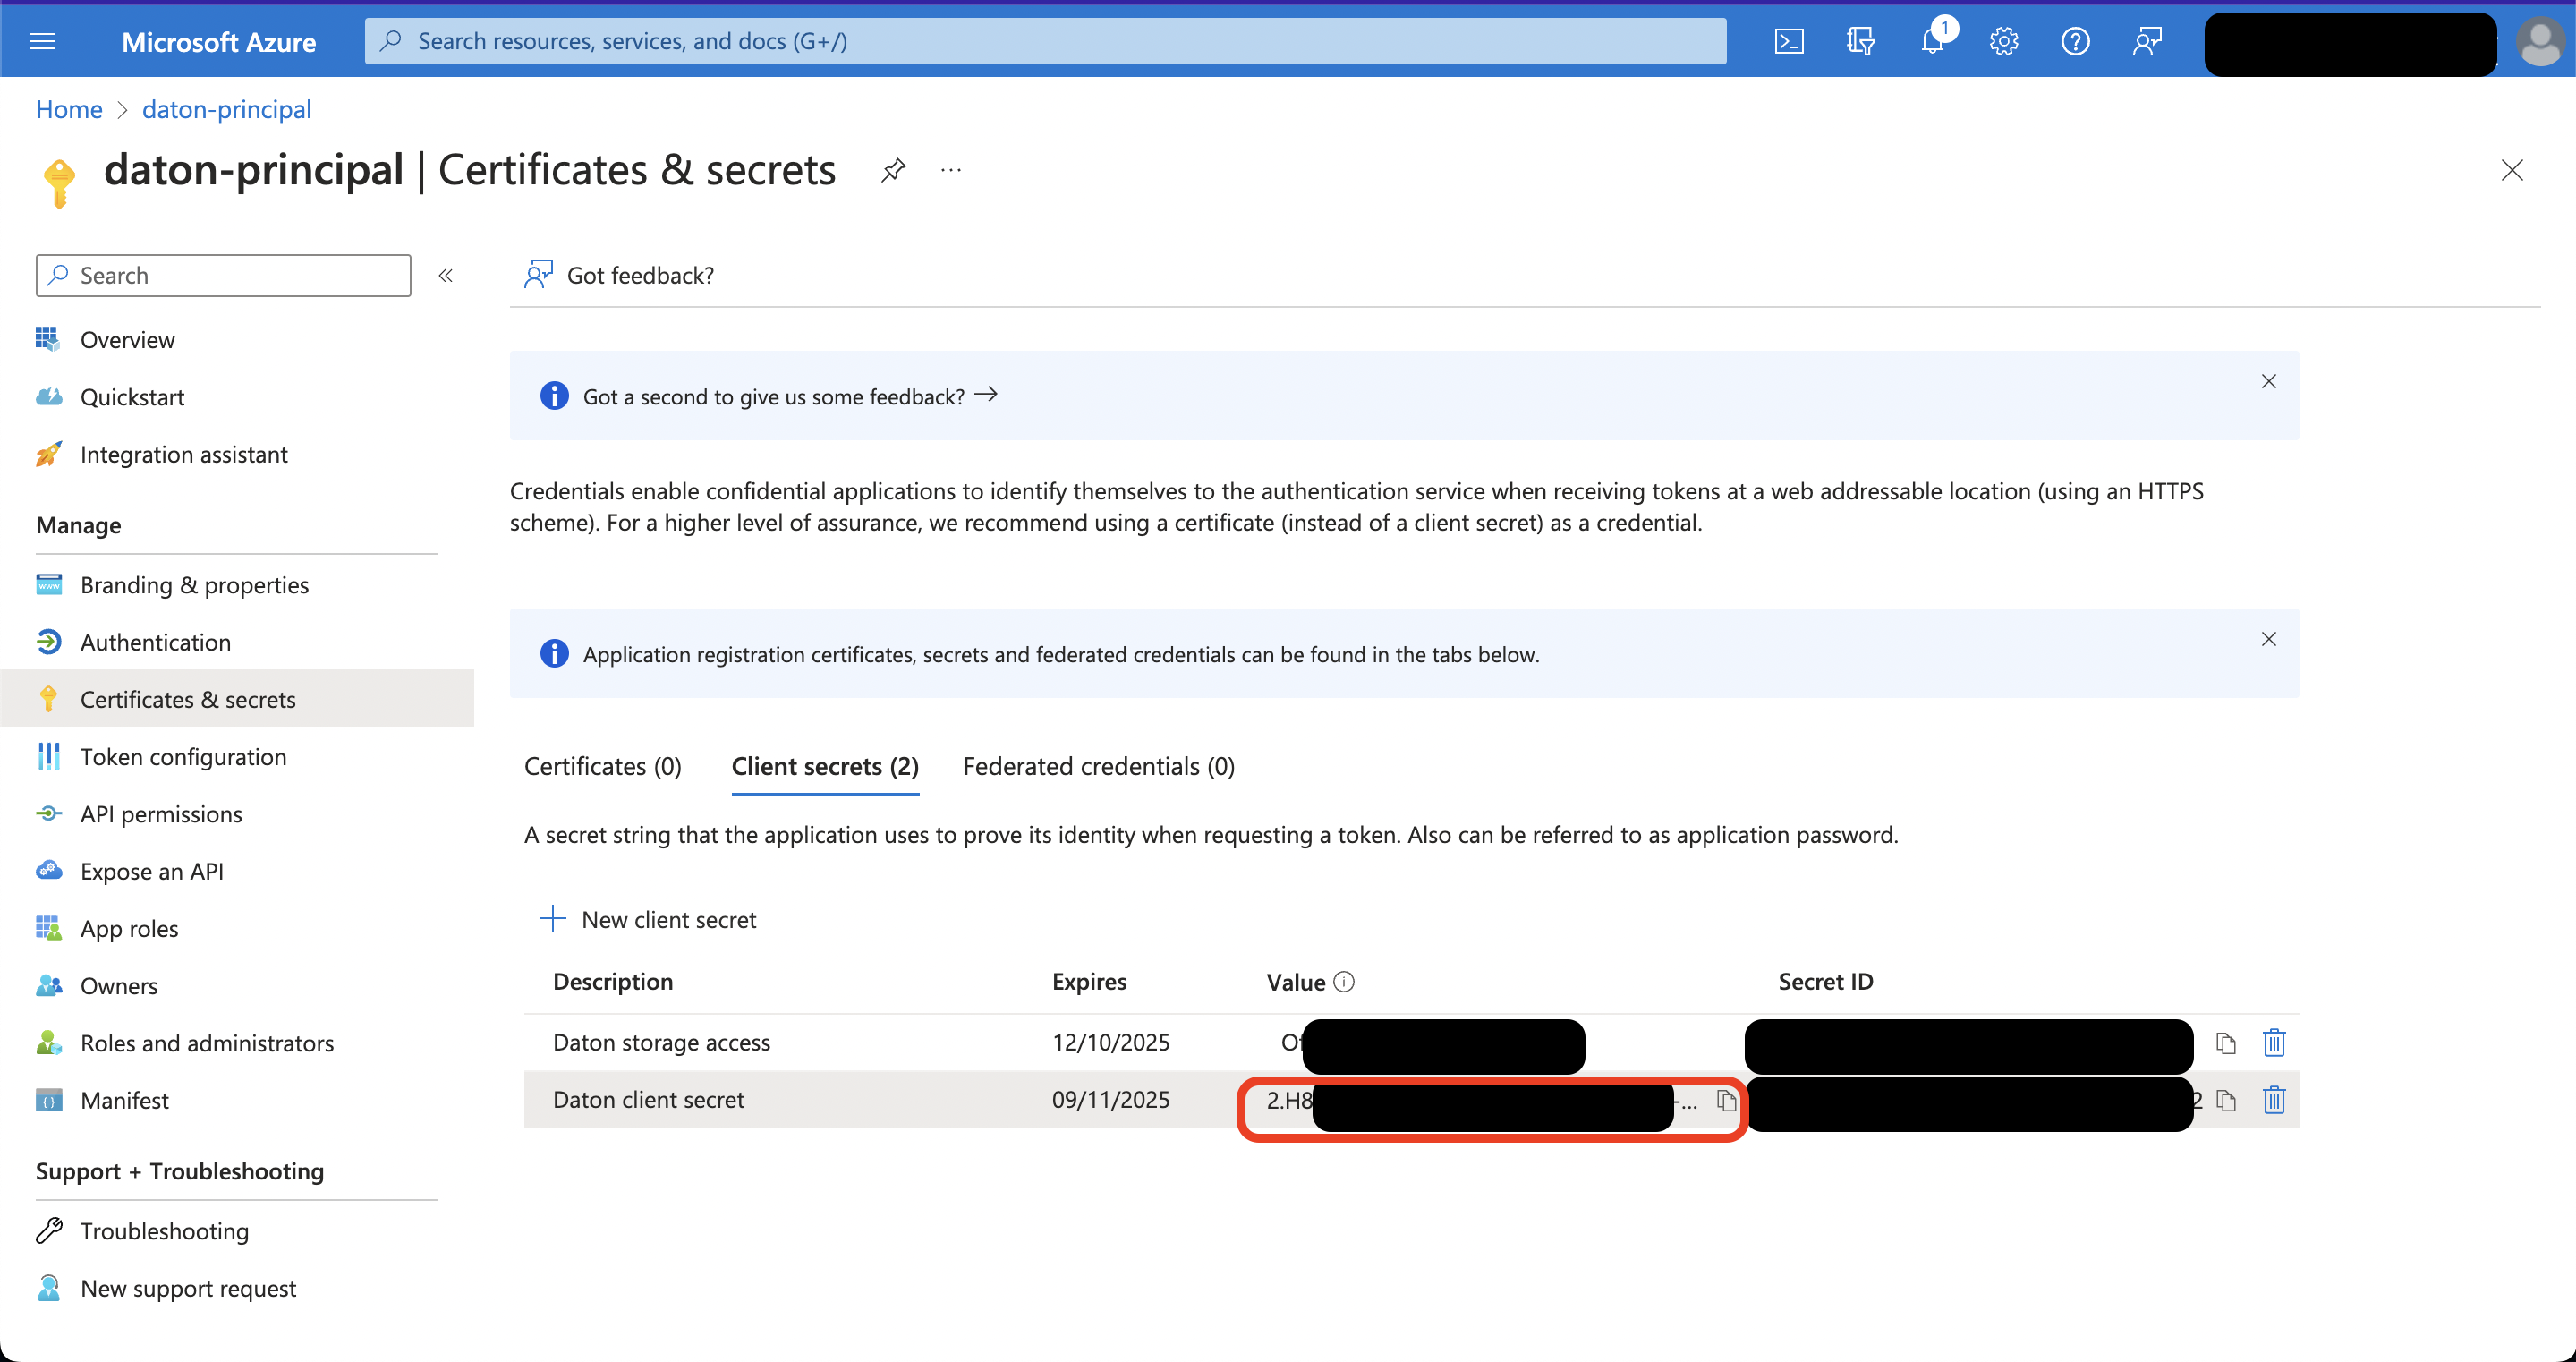
2. On the navigation menu, click **Certificates & secrets** and then click **New Client Secret.**

   <figure><img src="https://t3369097.p.clickup-attachments.com/t3369097/4195955a-9814-4043-a530-a54cb498f893/Screenshot%202023-11-10%20at%2012.03.14%E2%80%AFAM.png" alt=""><figcaption></figcaption></figure>
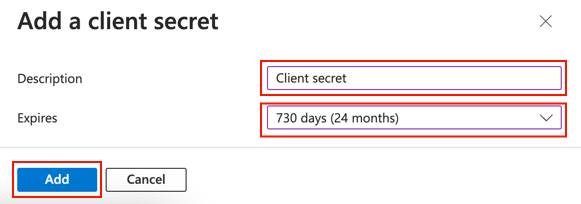
3. In the Add a client secret pane, enter a **Description** for the client secret, set the expiry time to 730 days, and click **Add**.

   <figure><img src="https://fivetran.com/static-assets-docs/_next/static/media/secret-description.24cd5adf.png" alt=""><figcaption></figcaption></figure>
4. Copy the client secret that you just created. You will need it while integrating your db into Daton.

   <figure><img src="https://t3369097.p.clickup-attachments.com/t3369097/d3a1b129-a5ed-484a-99e7-3c7ddff9ca29/Screenshot%202023-11-10%20at%2012.08.54%E2%80%AFAM.png" alt=""><figcaption></figcaption></figure>

### Task 3: Create workspace

1. Log in to your [Microsoft Fabric account](https://app.fabric.microsoft.com/home).
2. Click **Synapse Data Engineering**.

   <figure><img src="https://15515196-files.gitbook.io/~/files/v0/b/gitbook-x-prod.appspot.com/o/spaces%2F-LbJ1eMq5M51cIpU163R%2Fuploads%2FtZE50aKPyQxLP6zpV15X%2F1Onelake.png?alt=media&#x26;token=7dd53625-04c5-437d-a793-89c8d5fe40eb" alt=""><figcaption></figcaption></figure>
3. Navigate through **Workspaces** and then click **New Workspace**.

   <figure><img src="https://15515196-files.gitbook.io/~/files/v0/b/gitbook-x-prod.appspot.com/o/spaces%2F-LbJ1eMq5M51cIpU163R%2Fuploads%2FsbFy0EpeYvv3LCewS62c%2FOnelake.png?alt=media&#x26;token=73770826-d02f-4d45-9487-0acbe175a930" alt="" width="375"><figcaption></figcaption></figure>
4. Enter a **Name** for your workspace and click **Apply**.

   <figure><img src="https://15515196-files.gitbook.io/~/files/v0/b/gitbook-x-prod.appspot.com/o/spaces%2F-LbJ1eMq5M51cIpU163R%2Fuploads%2Fd4QOeuYNASolf6r9SErr%2F3Onelake.png?alt=media&#x26;token=2625f339-d047-4fd2-a785-19acfa1ab807" alt="" width="375"><figcaption></figcaption></figure>

### Task 4: Add service principal to the workspace

1. Select the workspace you created in [Task 3](#task-3-create-workspace) and then click **Manage Access**.

   <figure><img src="https://15515196-files.gitbook.io/~/files/v0/b/gitbook-x-prod.appspot.com/o/spaces%2F-LbJ1eMq5M51cIpU163R%2Fuploads%2FisDcKZGkmtUFw1FCfHqL%2F4Onelake.png?alt=media&#x26;token=56e2b840-76ce-4974-b36c-45f57f031d4e" alt="" width="563"><figcaption></figcaption></figure>
2. Click **Add people or groups** and specify the name of the service principal you created in [Task 1](#task-1-register-an-application).

<figure><img src="https://15515196-files.gitbook.io/~/files/v0/b/gitbook-x-prod.appspot.com/o/spaces%2F-LbJ1eMq5M51cIpU163R%2Fuploads%2FFTIWEwdy9CPebbqYlWui%2F5Onelake.png?alt=media&#x26;token=39f16a9a-4586-4f95-a598-35dd06964da3" alt="" width="375"><figcaption></figcaption></figure>

3. In the drop-down menu, select **Contributor** and click **Add**.

### Task 5: Create Lakehouse

1. On the navigation menu, click **Create**.
2. In the Data Engineering section, locate and click **Lakehouse**.

   <figure><img src="https://15515196-files.gitbook.io/~/files/v0/b/gitbook-x-prod.appspot.com/o/spaces%2F-LbJ1eMq5M51cIpU163R%2Fuploads%2FJ8zKH2jfgPFTyUyjEKPF%2F6Onelake.png?alt=media&#x26;token=462542dd-b6fe-43af-b1e7-8ede4452fd34" alt=""><figcaption></figcaption></figure>
3. Provide a unique name for your lakehouse and click **Create** to initiate the creation process.

   <figure><img src="https://15515196-files.gitbook.io/~/files/v0/b/gitbook-x-prod.appspot.com/o/spaces%2F-LbJ1eMq5M51cIpU163R%2Fuploads%2Fzk8oUrd3dw1CDKC11ScX%2F7Onelake.png?alt=media&#x26;token=38d5b14b-15da-421f-bb3b-7539e4f0ce5e" alt="" width="375"><figcaption></figcaption></figure>

Following these steps will set up your Lakehouse in Azure One Lake, allowing you to manage and integrate your data effectively in Daton.
