# How to Integrate Keepa with Daton
### Pre-requisites
Before starting, ensure you have an active Daton account.
### Task 1**: Get Your** Keepa API Access Key
Perform the following steps to get your Keepa API access key:
1. **Sign up for a Keepa account.** Alternatively, if you have already signed up for a Keepa account and purchased a subscription plan, move to **step 3**.
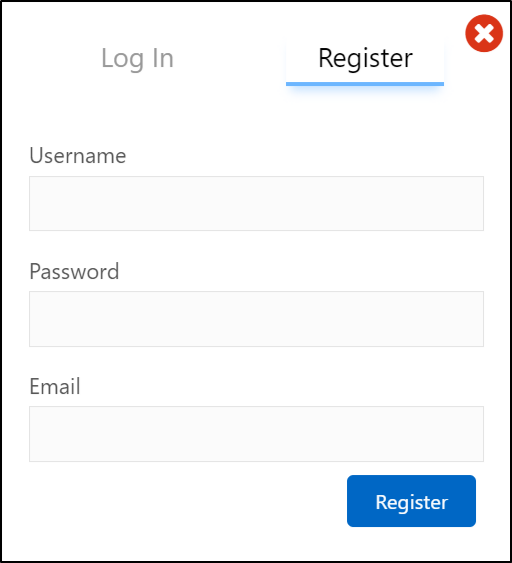
1. Go to the [Keepa website](https://keepa.com/#!) and click **Log In / Register** on the top menu bar, then select **Register** in the pop-up window to create an account.
2. Provide your username, password, and email address to sign up.
2. **Purchase a subscription plan**:
* Keepa offers various subscription plans for 1 month with a subscription model. For more information, see [Pricing Plans](https://keepa.com/#!api/3).
* Choose a plan that fits your requirements and complete the payment to purchase it.
3. **Find your API access key**:
1. After signing up and purchasing a subscription, log in to your Keepa account.
2. Click [**Apps**](https://keepa.com/#!addon) on the top menu bar and select [**Keepa API**](https://keepa.com/#!api). The API access key will be listed in the **Your Access** tab.
* Alternatively, select your profile name on the top menu bar and click API Access in the drop-down menu to open the **Your Access** tab.
You can use the API key to authenticate Keepa API requests. For more information, see [Keepa API documentation](https://keepa.com/#!api).
### Task 2**: Get Your** Amazon Seller ID
1. Log in to your [Amazon Seller Central](https://sellercentral.amazon.com/) account.
2. Locate the gear icon in the upper right-hand corner and click **Account Info**.
3. Under **Business Information**, locate the **Merchant Token** option.
4. Click **Merchant Token** to display your Seller ID. It will be a string of numbers and/or letters.
### Task 3**:** Integrate Daton with Keepa
1. Log in to your [Daton account](https://daton.sarasanalytics.com/u/integrations-list) and search for Keepa in the list of Connectors, then click **Configure**.
2. Enter or select the following details and click **Authenticate**:
* Integration Name. Note that the Integration Name will be used to create the integration tables and cannot be modified later.
* Optionally, add a description to identify the integration.
* Select a domain from the drop-down list, such as .com, .co.uk, de, fr, .co.jp, .ca, .it, .es, .in, and .com.mx.
* Replication Frequency
* Replication Start Date
* Optionally, expand the **Advanced Configuration Options** section and, based on your requirements, modify the options to control the loading behavior of Daton.
3. Paste the following in the required fields to authenticate the integration and extract data for replication. Then click **Authenticate**.
* **Enter API Key here**: Keepa API Access Key
* **Enter Seller ID here**: Amazon Seller ID
4. After successful authentication, you will be prompted to choose from the list of available tables. Select the required tables and click **Next**.
* Optionally, based on your requirement, select specific options for each selected table.
5. Select the required fields for each table and click **Submit.**
* **Note** that you will be prompted to select the destination for your account.
6. Select the destination for extracting Keepa data for replication and click **Confirm**. An integration successful message will be displayed.
## Important Note
* Integrations would begin in the Pending state and change to the Active state once the first job successfully loaded data into the configured warehouse.
* Users can check job status and process logs from the integration details page by clicking on the integration name in the active list.
* Users can Re-Authenticate, Edit, Clone, Pause, or Delete the integration at any moment by clicking on settings. You can also adjust the frequency and history of the integration.
* On the Sources page, click Integration to access each table in your integration. The page also shows the state of each table, the last replicated time, and Reload access buttons.
---
# Agent Instructions: Querying This Documentation
If you need additional information that is not directly available in this page, you can query the documentation dynamically by asking a question.
Perform an HTTP GET request on the current page URL with the `ask` query parameter:
```
GET https://daton-sarasanalytics.gitbook.io/daton/integrations/data-sources/ecommerce/keepa/how-to-integrate-keepa-with-daton.md?ask=
```
The question should be specific, self-contained, and written in natural language.
The response will contain a direct answer to the question and relevant excerpts and sources from the documentation.
Use this mechanism when the answer is not explicitly present in the current page, you need clarification or additional context, or you want to retrieve related documentation sections.